Networkmap menu explained
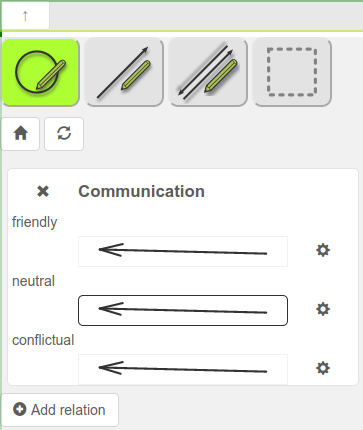
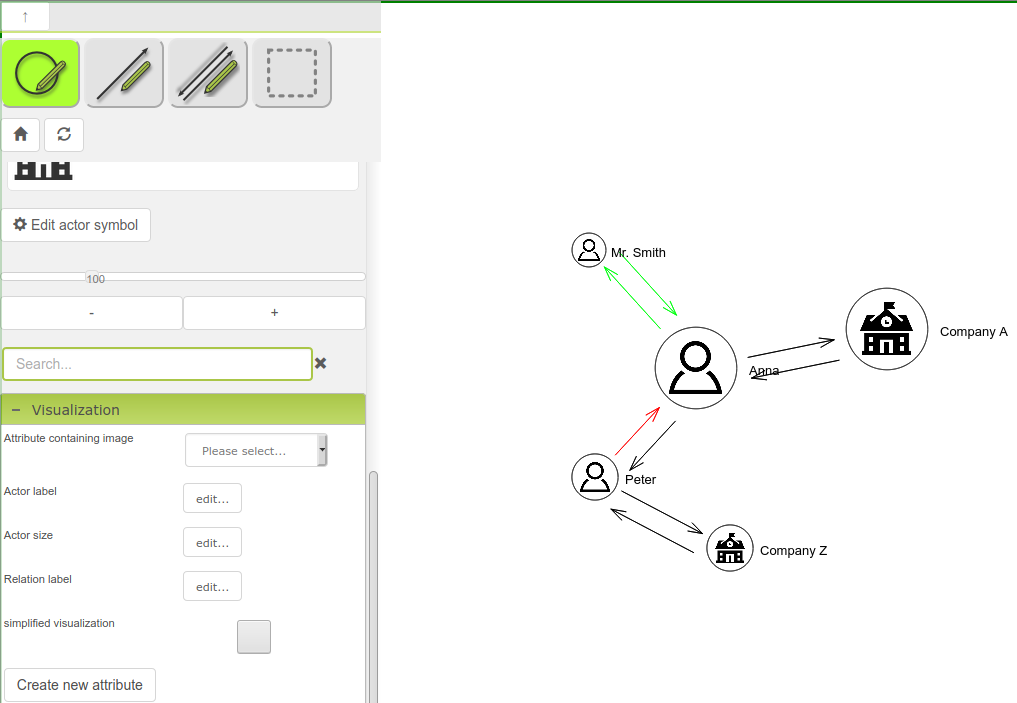
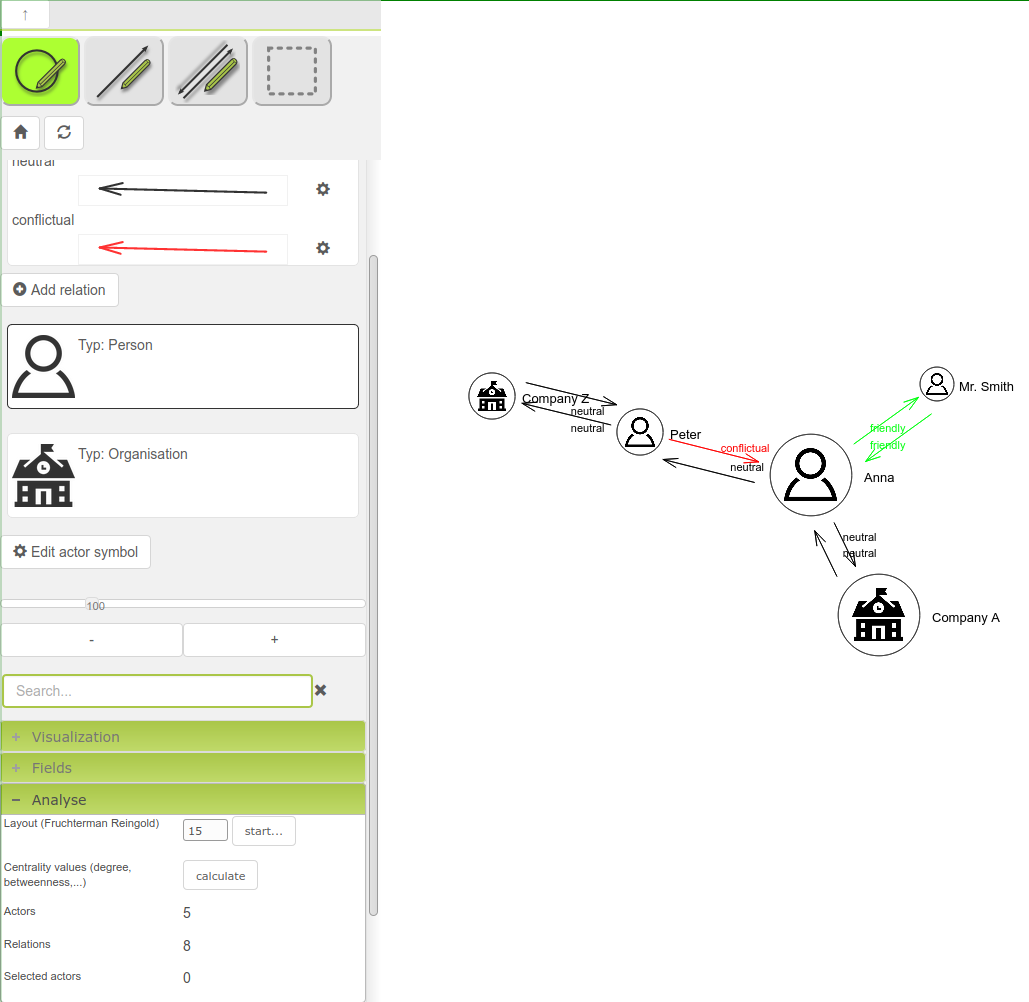
Please, open the module "Network map". You will see the following menu:

Main buttons
At the top of the menu, you see the following buttons:
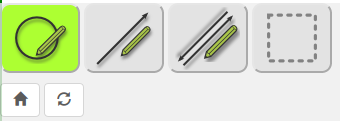
First row and from left to right:
- Draw actors
- Draw one directed relations
- Draw a reciprocal relation (both directions)
- Select actors
Second row and from left to right:
- Center network map to the coordinates x=0 and y=0.
- Refresh network map visualization
Zoom
You can zoom the current network map. Move the slider or click on the "-" or "+" button:

Relation visualization
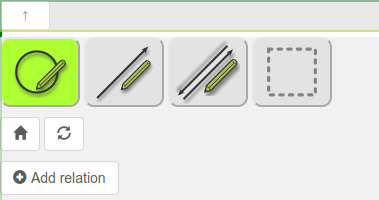
You can add one or more relation attributes to your network map.
After adding a relation attribute to your side menu, you can draw a relation with this attribute.
To add a relation attribute, click on the "Add relation" button:
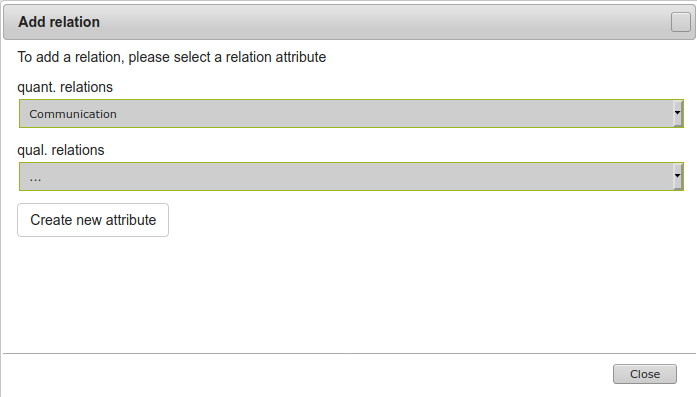
Select you relation attribute:
You can choose between relation attributes with predefined answers ("quant. relations") or attributes with free answer ("qual. relations"):
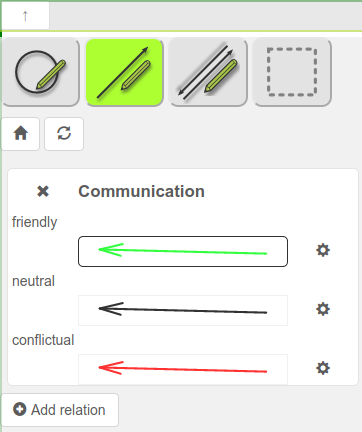
After selecting a relation attribute, the side menu will be refreshed:
You can change the color or size of a relation by clicking on the gear symbol:
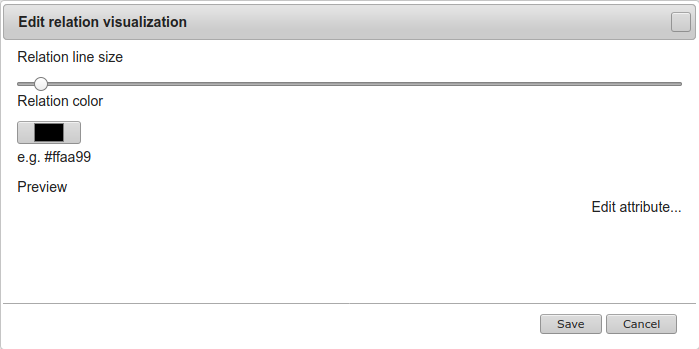
After changing the visualization, please click on "Save".
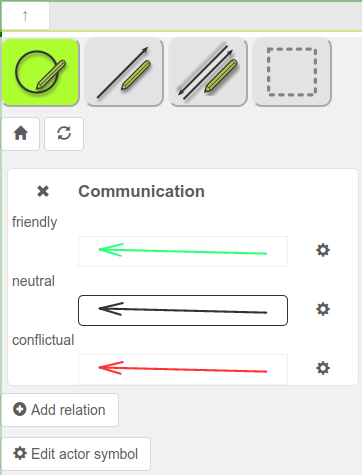
Visualize an actor attribute with the help of different symbol images
You can add actor attribute symbols, by clicking on "Edit actor symbol":
Select your actor attribute and the predefined actor attribute value and click on "Add".
The selected attribute value will be displayed in the list with a default symbol image:
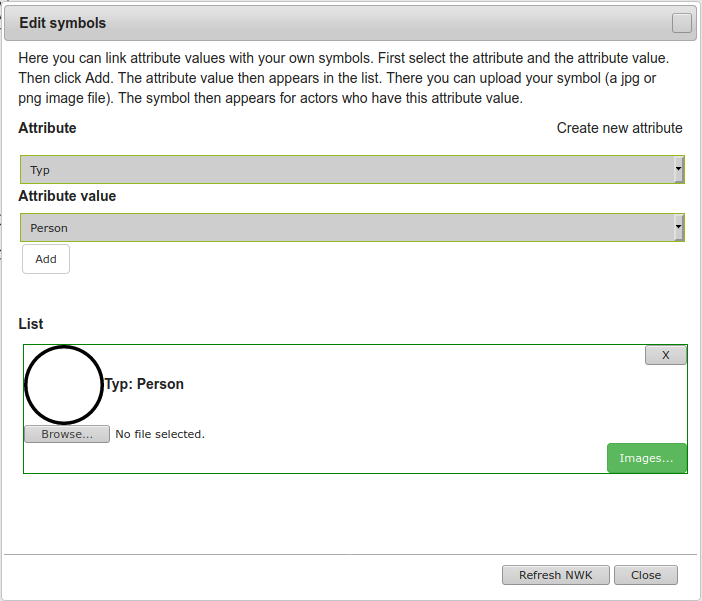
You can change the default attribute symbol:
You can upload your own image, if you click on "Browse...".
or
You can select an image from the internal symbol image library:
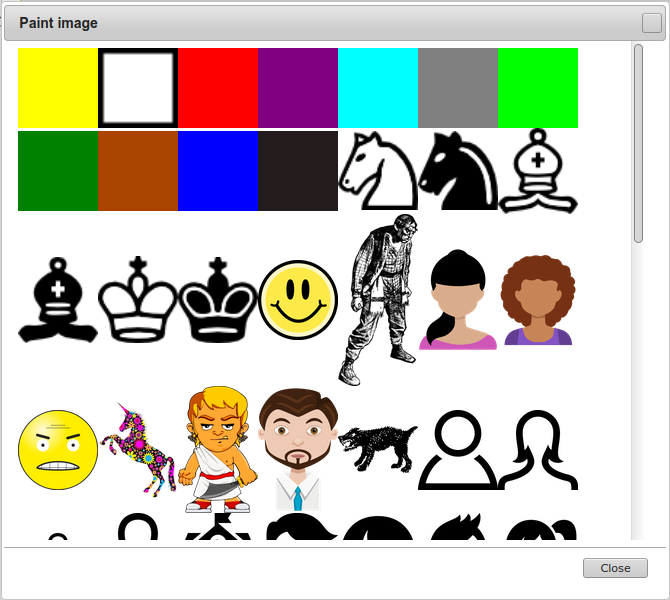
To select an image, click on the image.
Now, you will the selected image in the list:
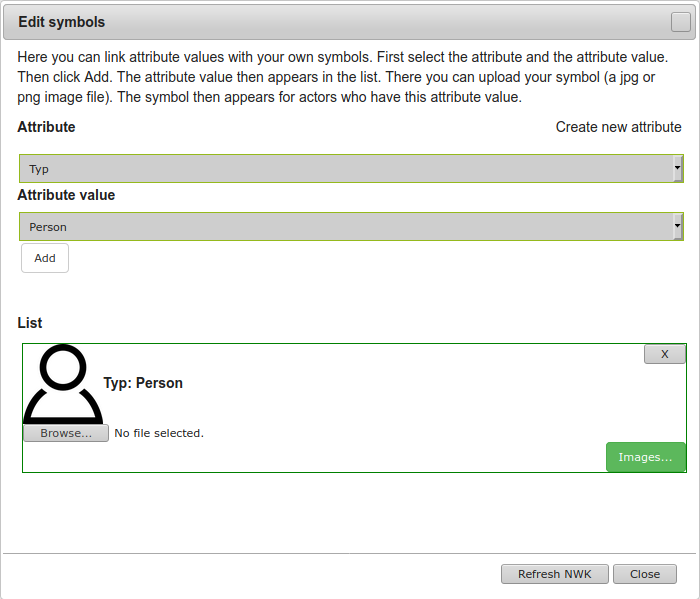
Close the dialog.
The side menu will be refreshed:
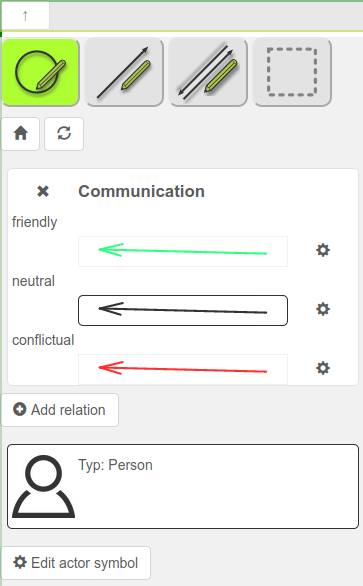
To remove the actor symbol, click on the button "Edit actor symbol" and then remove the image from the list.
Actor attribute value and relation attribute value visualization
You can visualize the actor attribute values or the relation attribute values on the network map:
Visualize an actor attribute as an actor label
Open "Visualization" in the side menu:
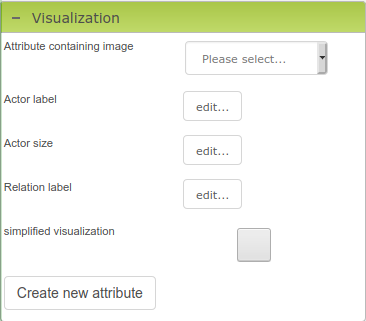
Click on ""Actor label" and select one or more actor attributes:
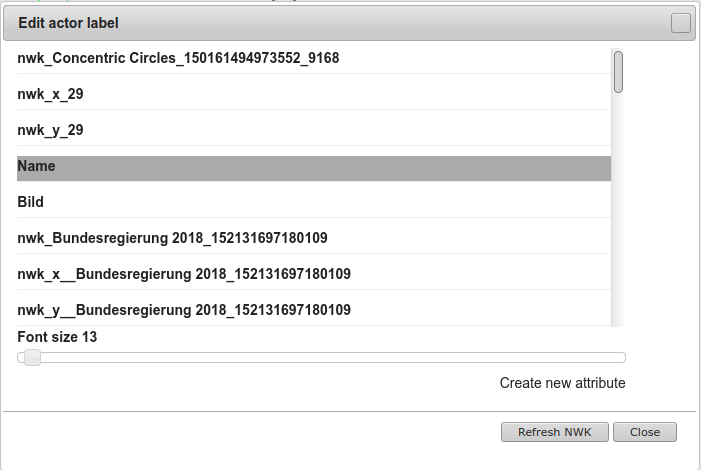
Refresh the network map and close the dialog.
Edit actor symbol size
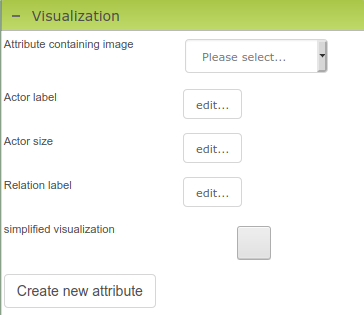
To visualize an actor attribute with the help of the actor symbol size, please click on Actor size: "Edit..." button:
You can set the default actor symbol size (eg. if no attribute value is set).
You can also select an actor attribute from the attribute list.
You can define the minimum and the maximum size of an actor symbol with the slider:
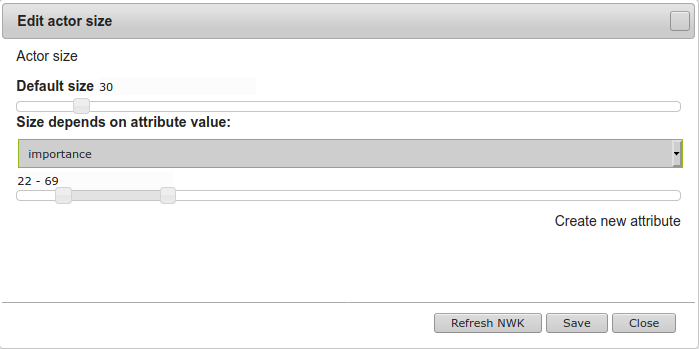
After refreshing the network map and clicking on "Save", the symbol sizes on the network map changed:
Relation attribute value visualization
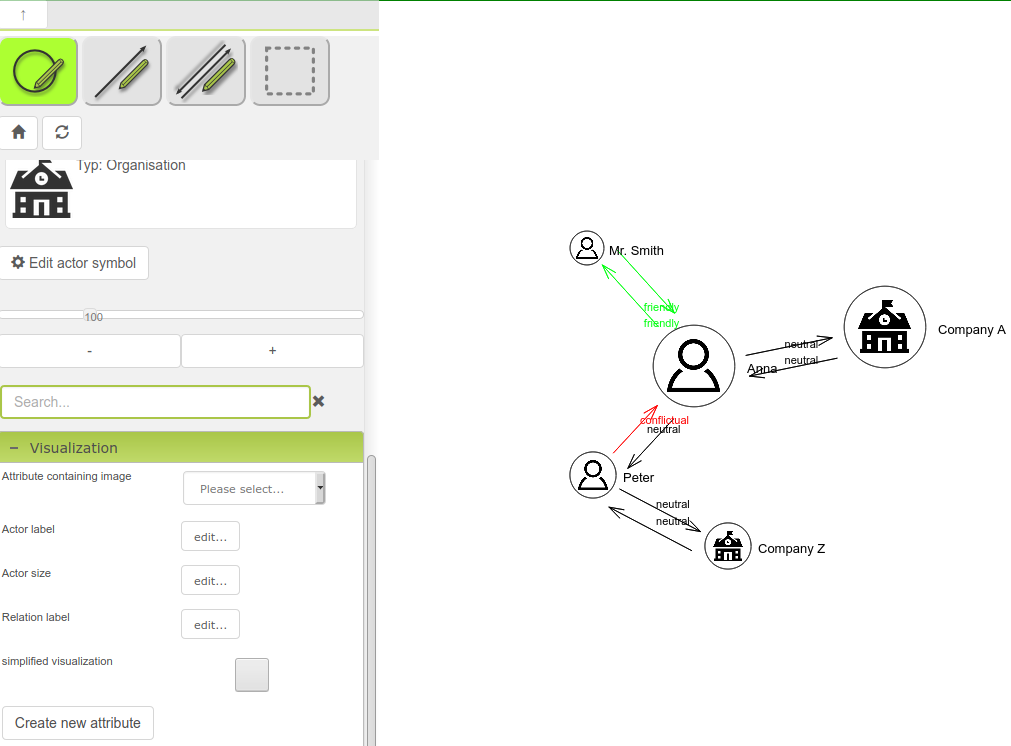
You can visualize the relation attribute value as additional text beside your relations on the network map.
Please, click on Relation label: "edit..." button:
Select you relation attributes and set the font size:
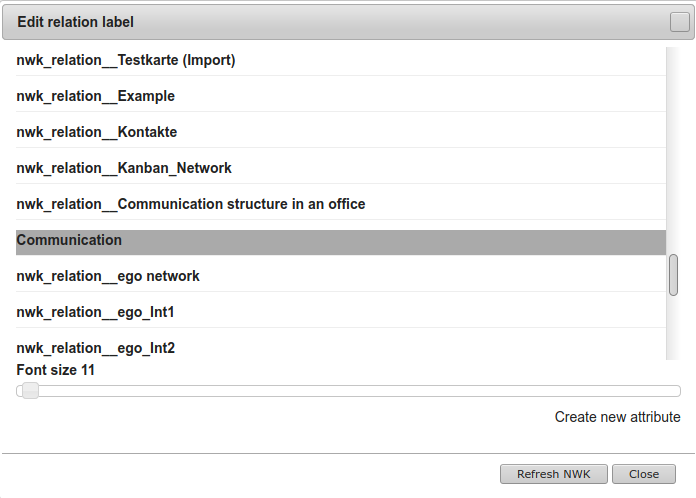
Click on "Refresh NWK" and close the dialog.
Now, you will see the relation attributes as text on the network map:
Some network calculations
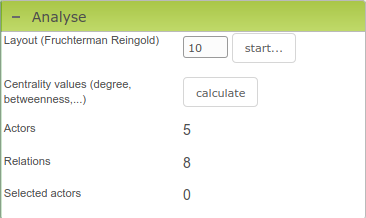
Open the menu "Analyse". You will see two buttons and the numbers of actors, relations and selected actors on you network map.
Calculate the network layout visualization with the help of a layout algorithm
You can automatically draw your network with the help of a layout algorithm. MyNetworkmap use for the calculation the algorithm "Fruchterman Reingold".
Please, click on the button Layout (Fruchterman Reingold): "start..." to calculate the actor positions on your network map. You can also change the distance between
each actor, if you input a value in the input field:
After calculating the positions of your actors, the network map will be refreshed automatically:
Centrality values
You can calculate some centrality values by clicking on Centrality values: calculate button.
MyNetworkmap will calculate degree, betweenness, closeness and density. The results will be saved in new attributes.
Import existing actors in to your network map
The menu "Actors" contains a list of actors to import on you network map.
If no actors will be listed, please click on "Reload list" and it will be depend on your actor label visualization setting.
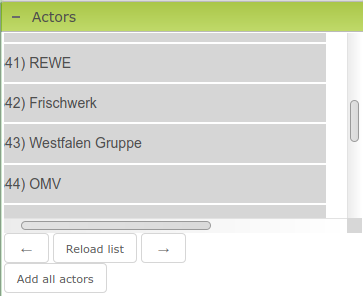
You can add one actor by drag and drop the actor on the network map.
You can add all actors by clicking on "Add all actors".
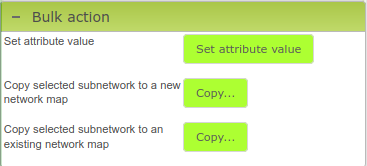
Bulk action
Bulk action means, that you can do some action on more than one actor.
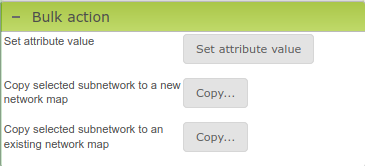
Select some actors on your network map:
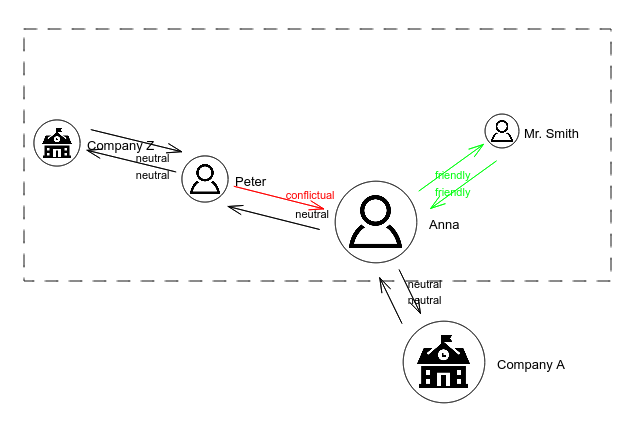
The button will be changed to "green". Now you can do some bulk action.
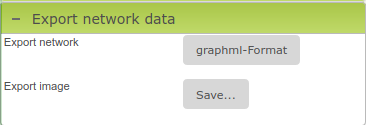
Export the network map
Open the menu "Export network data".
You can export the network map data directly a graphml file (see also the export module) or the network map as an image file:
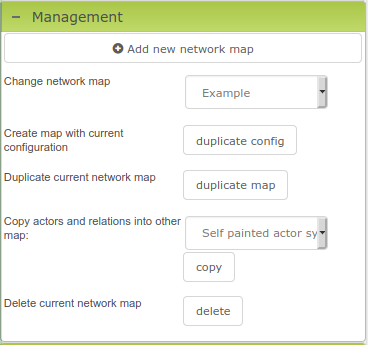
Management
Open the menu "Management".
To delete a network map, click on "Delete current network map".
To create a new network map click on "Add new network map".
To create a network map with the current network map configuration, click on "duplicate configuration".
To create a network map from the current network map, click on "duplicate map".
To change the current network map, select an other network map from "Change network map":
Configuration on network map level
Open the menu "Network map".
You can change the network map name and the network map description:
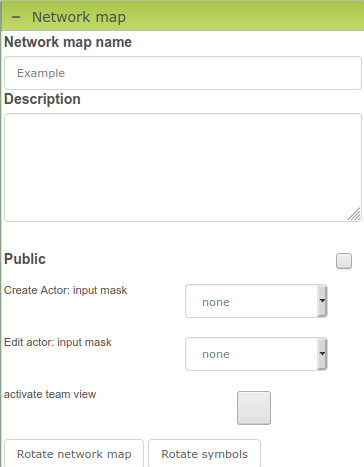
You can also make you network map public, by clicking on the checkbox "Public". After that, click on the new button "generate new link". Important: The network map is now public and will be listed public on the MyNetworkmap.com site! To remove the public status of your network map, deactivate the checkbox again.
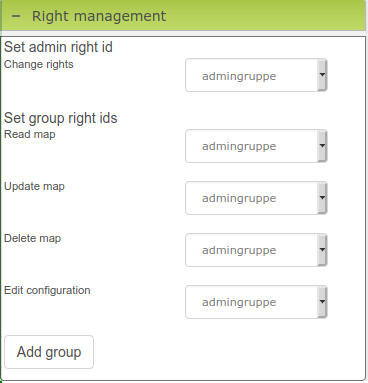
Network map permissions
If you have more then one group in your team, you can set different permissions for different groups: